The Exposure Triangle in Practice
A working way to decide which exposure control deserves the compromise in front of you.

Start with the consequence
Aperture changes depth of field, shutter speed changes the way movement is recorded, and ISO changes how much signal the camera needs to make a usable file. The triangle is useful when it is treated as a set of consequences, not a memorization exercise.
Make one choice first
For a moving subject, begin with the shutter speed that protects the gesture. For a portrait, begin with the depth of field that keeps the intended features connected. For a landscape on a tripod, aperture may be the first creative choice.
Let the meter be a partner
Use the camera meter to see the light, then decide whether the suggested balance serves the photograph. Check highlight warnings and a test frame. A small exposure adjustment is often less damaging than trying to rescue clipped highlights later.
A working sequence
Try the triangle on a moving subject rather than on a static wall. Set the shutter speed first, make one frame, and look for the motion you intended. If the image is soft for the wrong reason, do not immediately raise ISO and open the lens together. Change one control, then watch what the new compromise does to the background and the skin tone. This is how a camera setting becomes a photographic decision.
A common error is to treat ISO as a failure. In a dim room, a higher ISO may preserve the gesture and the colour of the light better than a slow shutter. Another error is to assume the widest aperture is always the most professional choice. If two people are on different planes, a little more depth can protect the relationship that matters. The correct exposure is the one that protects the meaning of the frame.
Keep a field record
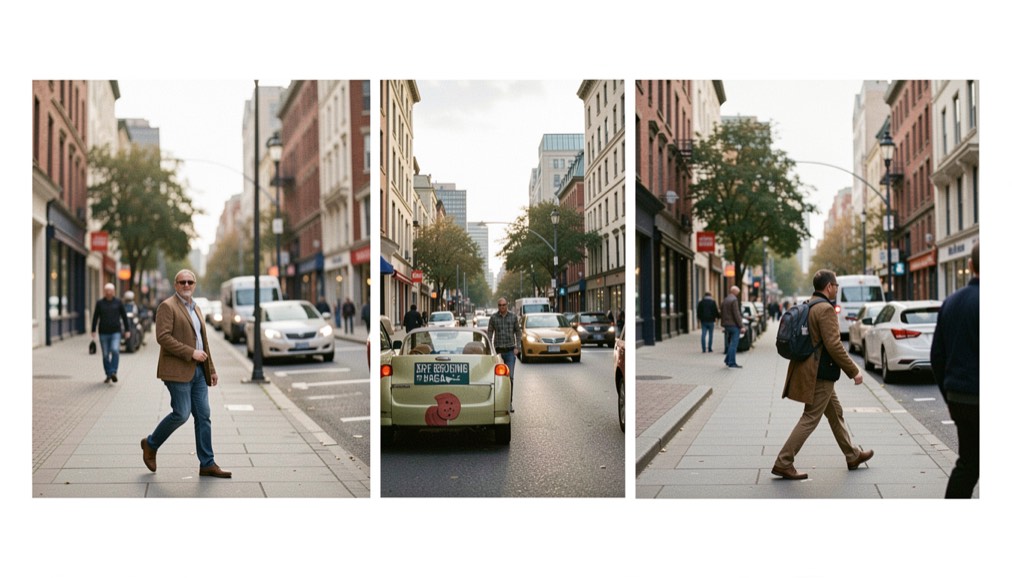
For a final check, make the same subject under two different priorities. Photograph a walking person once with the shutter protected, then once with the aperture protected. Compare the gesture, background and noise rather than asking which file is technically cleaner. Write one sentence beside each frame: “I chose this because…” The sentence is the lesson. It gives the next assignment a memory that a preset cannot provide, and it makes the compromise available to another photographer on the team.
Know the limit
The useful limit is the subject’s movement. A tripod can steady the camera, but it cannot stop a person, leaf or hand. Image stabilisation can help a static view and still leave a moving face soft. When the light is low, decide whether the photograph needs a clean background, a quiet gesture or a particular colour first. Then accept the cost elsewhere. Review the result at the size it will be delivered, because a little grain may disappear while a missed expression will not.
Example from the field
Example: a person crossing a bright doorway may need 1/250 sec to keep the step readable. If the background becomes too dark, move the subject or accept more ISO before dropping the shutter. The choice changes the mood as well as the file. A crisp frame can feel alert; a little movement can feel alive. Record the reason beside the test frame so the setting is attached to the scene, not memorised as a universal rule.