Metering Skin, Snow and Bright Scenes
Why a camera can make bright subjects look dull, and how to read the scene before correcting it.
Meters measure light, not meaning
A meter tries to place the scene near a middle tone. A pale dress, bright snow or a sunlit wall can therefore be rendered darker than it looks to your eye. The display and histogram give you a second opinion.
Protect the important highlight
Decide which bright area must retain texture. Fill the frame with that area for a test, or use the highlight warning, then return to the composition. A small amount of shadow recovery is usually a gentler edit than rebuilding a lost highlight.
Keep skin consistent
When people move from shade to window light, lock the exposure or re-meter deliberately. Small changes between frames make a portrait sequence feel unsettled, especially when the background is bright.
A repeatable bright-scene check
Use a repeatable check when the subject moves between a pale background and a darker room. Make one frame with the face in the centre, inspect the highlight warning, then recompose without changing the chosen exposure. If the face is the priority, keep the adjustment small and consistent across the sequence. A grey card can help a controlled portrait, but it does not remove the need to inspect the actual highlight and the colour of the light.
Snow also creates a useful limit: the camera cannot know that a bright field is meant to remain bright. Do not chase a middle-looking histogram if it destroys the clean tone of the scene. Preserve texture where it matters, accept a bright edge where it does not, and make a note of the decision for the edit. This is more reliable than trying to make every pixel average out to grey.
Keep a field record
A portrait sequence benefits from a stable exposure more than from a perfect meter reading in every frame. Once the highlight decision is made, keep it while the person moves through the scene and correct the consistent change later. If the light changes direction, make a new decision and mark the transition. This prevents a gallery from flickering between unrelated tones. It also helps the subject remain present, because the photographer is not repeatedly stopping the conversation to chase a number.
Know the limit
Do not use a bright scene as an excuse to ignore colour. Snow can bounce a cool sky into the face while a nearby window adds another temperature. A neutral reference may help when the light is controlled, but it cannot repair a mixed scene by itself. Photograph a small detail with texture, keep the camera position stable and correct the consistent cast during the edit. If the subject changes location, make a fresh reference rather than pretending the same white balance still describes the room.
Example from the field
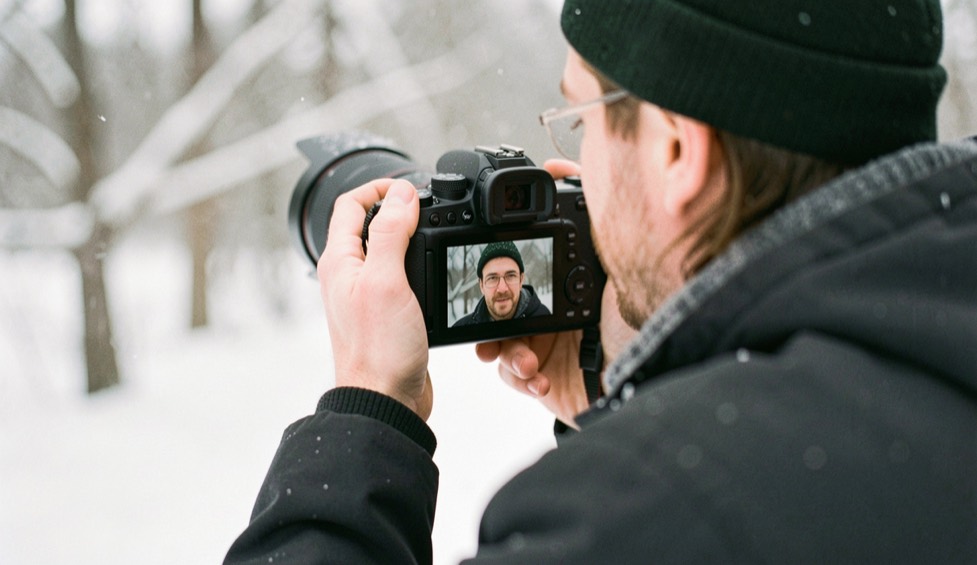
Example: a face beneath a pale winter sky can look correct in the first frame and too dark when the person turns toward the field. Keep the person’s position and re-meter the face, then compare the snow texture at the edge. If the highlight is already gone, do not keep raising exposure. Change the angle, use a coat or wall as a darker background, and let the bright landscape stay bright without asking the skin to carry all the correction.