The Small Studio Lighting Kit
A compact kit can cover portraits, products and teaching when each piece has a clear role.
Start with control
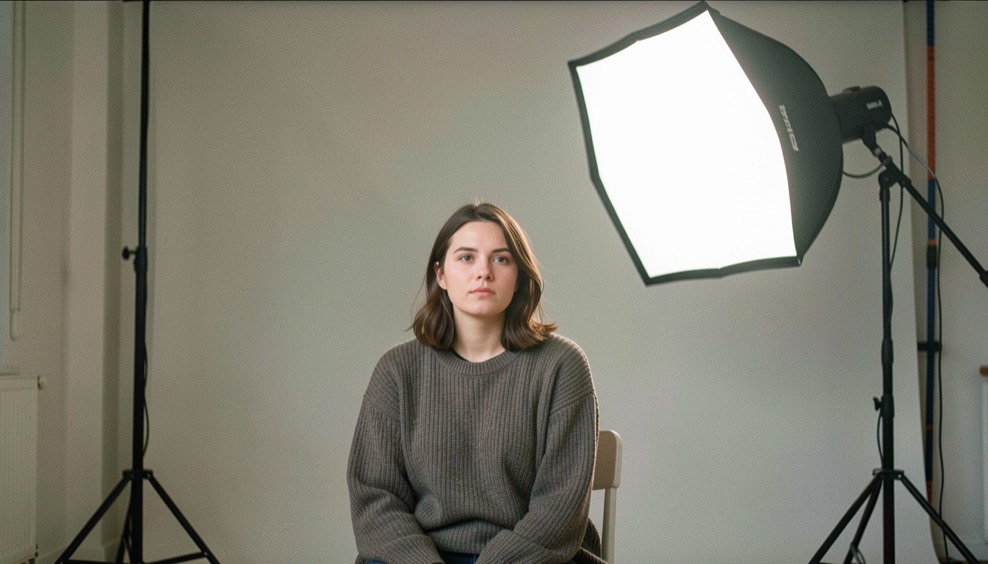
One dependable light, a modifier, a stand and a way to control spill will teach more than several unshaped sources. Add complexity only when the job asks for it.
Pack the safety item
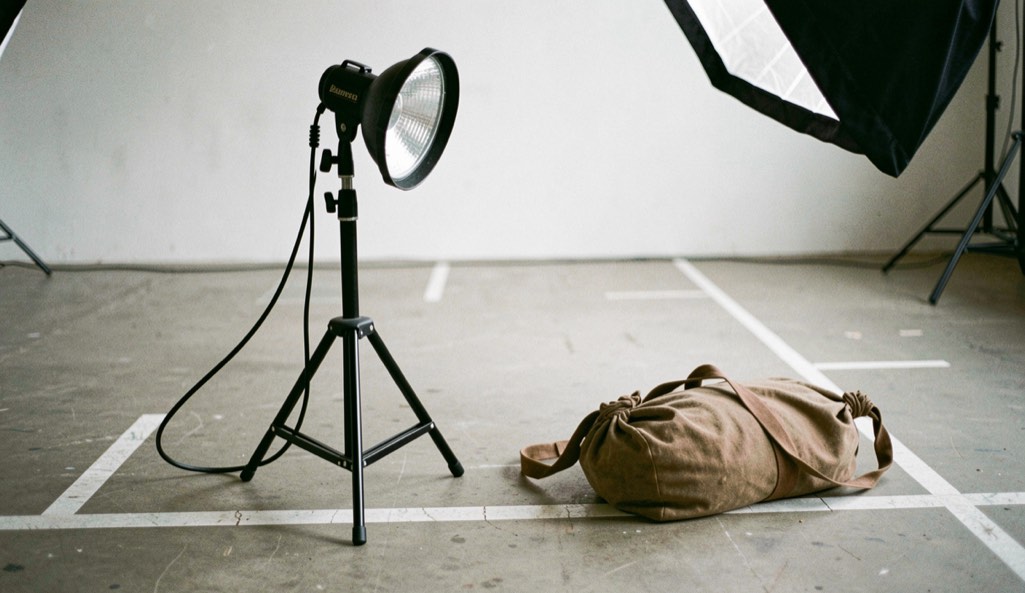
A sandbag and a way to secure a stand are part of the lighting kit, not optional accessories. A good setup protects people as well as the photograph.
Mark the floor
Small tape marks for the light, subject and camera turn a successful arrangement into a repeatable one. Keep a note of the distance when you find a useful result.
Make every stand earn its space
Start with one dependable light, one modifier that controls its size, a stand, a reflector or flag and a sandbag. Put tape on the floor for the light, subject and camera after the first successful test. Then remove one piece and see what the image loses. This teaches the role of each object and keeps the kit small enough to move between a home room, a rented studio and a client space.
Safety is part of the photograph. Weigh a stand when it is extended, keep cables out of walking paths and do not place a modifier where a person can strike it. A kit that produces a beautiful frame but creates a fall hazard is not a professional kit. Add a second light only when the first source cannot solve the new job. Complexity should answer a visual problem, not fill an empty corner.
A studio machine that crashes mid-edit costs a session, and diagnosing an unstable machine gives a method for memory tests, SMART attributes and a burn-in before any overclock.
Keep a field record
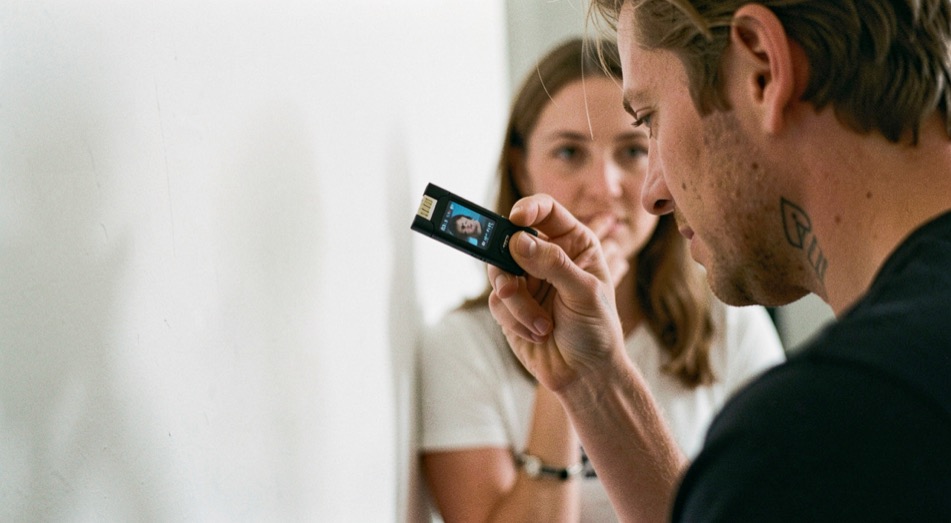
Test the kit in the smallest room where it might be used. If the light works there, a larger studio will give you more options; if it fails there, you will learn which part of the control is missing. Photograph the floor marks and write the source distance in a setup note. The record is useful when a client asks for a repeat months later. A compact kit earns trust when it can be rebuilt by someone else, not only by the person who first found the look.
Know the limit
The compact kit also needs a reset routine. Turn off the light, lower the stand, gather the cable and check the floor before anyone walks through the space. Photograph the final arrangement only after the safe version is in place. This protects the next user and makes the setup notes trustworthy. A modifier that takes five minutes to remove may be wrong for a fast portrait day even if it produces beautiful light. The kit should fit the pace of the work as well as its visual ambition.
Example from the field
Example: a one-light kit can cover a head-and-shoulders portrait, but a product on a table may need a flag to stop spill and a card to return a small highlight. The same light has a different job because the subject reflects it differently. Write the modifier and distance for each use. The setup library becomes practical when it describes the object and the surface, not only the brand of the light.